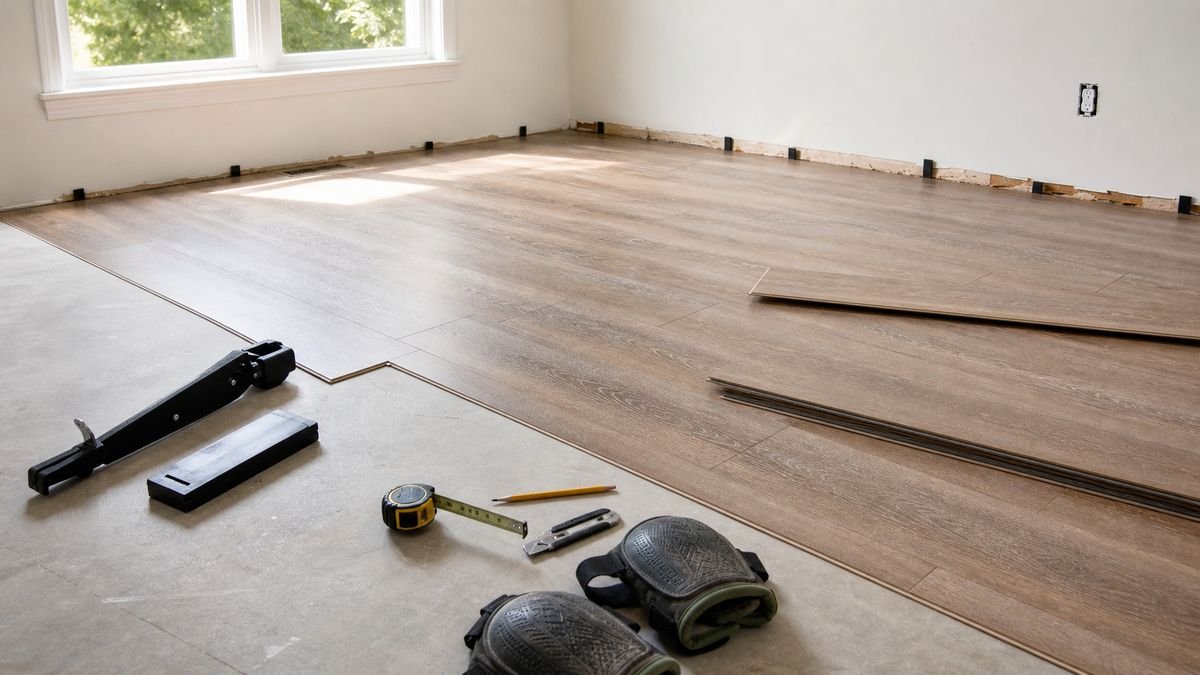

The best vinyl plank flooring installation tips all point to the same truth: most problems start before the first plank locks together. A flat subfloor, planned layout, correct expansion gap, and disciplined first rows matter far more than trying to work faster, explains UTZ Property Management.
That is why beginner installs usually go wrong in familiar ways. The planks look simple, but the details are not forgiving. If the floor is uneven, the gap is too tight, the joints are badly staggered, or the first row drifts out of square, the whole room starts fighting back.
This guide focuses on the decisions that keep the floor looking straight, sounding solid, and staying locked once furniture moves in. It is meant for practical DIY work, not showroom talk.
Start With the Room, Not the Planks
The smartest vinyl plank flooring installation tips begin with room prep because layout problems are easier to prevent than to hide later. Before cutting anything, check the subfloor for flatness, remove trim that interferes with the edge, confirm the manufacturer expansion gap, and decide where the first visible full row should run.
The strongest competitor article in this SERP spends most of its weight on beginner mistakes, and that makes sense. Vinyl plank flooring usually looks easy right until the installer reaches a doorway, a long wall that is slightly out of square, or a final row that narrows into an ugly strip.
Measure the room in several places, not just once. A room can read as rectangular and still wander enough to throw off the final courses. That small difference is the kind that shows up late, when the planks are already locked and your patience is gone.
| Pre-install check | Why it matters | What to do |
|---|---|---|
| Room measurements | Prevents ending with a tiny last row | Measure width in multiple spots and dry-plan the first and last rows |
| Subfloor flatness | Stops flexing, joint stress, and hollow clicks | Check with a long straightedge and patch or sand low and high spots |
| Wall condition | Affects spacing and trim coverage | Remove baseboards where possible and inspect for waves or bows |
| Door jambs and casings | Prevents awkward cuts and pinched edges | Undercut trim so the planks slide under instead of butting into it |
| Acclimation guidance | Varies by product and brand | Follow the manufacturer instructions for storage temperature and timing |
Prepare the Subfloor Better Than You Think You Need To
A vinyl plank floor is only as calm as the surface under it, so subfloor prep is the part worth obsessing over. Slight humps, proud fasteners, debris ridges, and unpatched dips can create noise, unlocked seams, or visible telegraphing after the install looks finished.
One of the clearest recurring themes in the live SERP is subfloor flatness. Fix This Build That emphasizes leveling, while So That’s How You Do That keeps returning to the idea of a foundation that does not move. Different writers, same warning.
Vacuum thoroughly. Sink or remove fasteners that sit proud of the surface. Patch dips, feather edges, and let repairs cure fully before you begin. Rushing this step saves an hour now and can cost a weekend later.
- Use a long straightedge instead of trusting your eyes.
- Sand high ridges gently and patch low areas according to the floor system.
- Remove scraps, grit, and cutoffs as you go so they do not sit under the planks.
- Check the instructions for underlayment compatibility rather than assuming more padding is better.
For homeowners thinking beyond one room, Techepeak’s guide to home improvements with the best return on investment is a useful reminder that finish quality matters almost as much as material choice.
Plan the First Row and Final Row Before You Click Anything Together
The first row controls the rest of the floor, so the goal is not just to start at a wall but to start in a way that protects the last row. Dry-lay a few planks, calculate how wide the final row will be, and shift the starting rip if the ending strip would be too narrow to look good or lock reliably.
Many installers lose time by treating the first row like a warm-up. It is not. If that row is crooked, the entire field telegraphs the mistake. If it is too tight to the wall, the floor can bind. If it starts with a seam pattern that repeats badly, the room reads cheaper than the material actually is.
Keep end joints staggered in a way the product allows, and avoid creating short leftover pieces at every row end unless the layout genuinely calls for them. A floor should look intentional, not improvised.
- Measure the room width at several points.
- Calculate the expected width of the last row.
- Rip the first row if needed so the last row does not finish as a thin strip.
- Snap or mark a straight control line if the starting wall is unreliable.
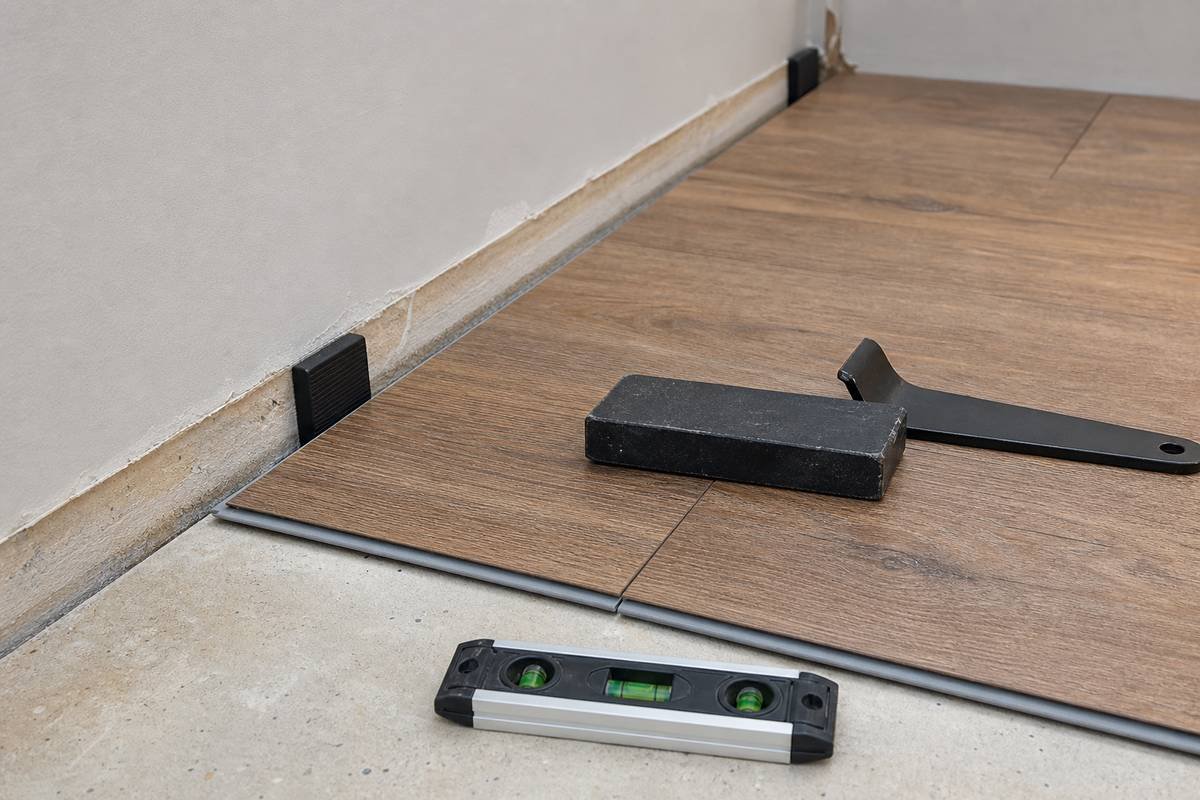
- Use spacers consistently instead of “eyeballing” the expansion gap.
Use the Expansion Gap Like a Rule, Not a Suggestion
Vinyl plank flooring needs the manufacturer-specified expansion space at walls, fixed cabinetry, pipes, and other hard stops because floating floors need room to move. When the gap disappears in even one problem area, the floor can lift, separate, or push stress into joints far away from the original mistake.
This is the detail that gets underestimated because trim hides it. Hidden does not mean optional. A clean-looking edge that is too tight is still a tight edge, and tight edges tend to announce themselves later.
Use spacers, keep checking them, and remember that door casings, island bases, fireplace edges, and transition points count too. The floor has to stay free as one system, not just along the easiest wall.
| Problem you see | Likely cause | First fix |
|---|---|---|
| Planks peak or tent after installation | Floor is pinched at a wall or fixed object | Check edge clearances, trim pinch points, and transitions |
| End joints feel stressed or begin to separate | Subfloor irregularity or movement restriction | Inspect flatness and confirm the floating field is not trapped |
| Floor sounds hollow in one zone | Dip, debris, or unsupported spot below | Lift if possible and correct the substrate issue |
| Final row looks crooked | First row drifted off line | Reset early rows before the error compounds |
Undercut Door Jambs, Plan Vents, and Respect Transitions
Good installation around details depends on making the floor look like it belongs there, not like it was forced to fit after the fact. Undercut door jambs so planks slip underneath, plan vent openings early, and use the right transition profile where the floor changes height or meets another material.
Doorways are where rushed DIY installs start looking homemade. A rough notch at casing edges, a misplanned vent cut, or a last-minute seam at a threshold can pull attention away from an otherwise solid room.
Cut carefully, test-fit often, and do not save complicated areas for when you are tired. Precision work near trim and transitions usually goes faster in the morning than at the end of a long install day.
- Use an undercut saw or multi-tool to create clean clearance under trim.
- Measure vent openings twice and keep seams away from weak narrow cuts when possible.
- Dry-fit transition pieces before the last courses lock you into one choice.
- Follow the product instructions for large room breaks and transition requirements.
Keep the Tool List Simple but Do Not Skip the Right Ones
Most vinyl plank installs do not need a shop full of specialty equipment, but they do need a few tools that keep the work accurate. A pull bar, tapping block, spacers, straightedge, utility knife, tape measure, level, and layout pencil do more for the final result than buying random extras.
The live Google results back this up. The best-performing content does not romanticize a massive tool haul; it focuses on using the correct basic tools at the correct moment. That is a far better beginner lesson than pretending the floor clicks together by itself.
Keep blades sharp, keep the floor surface clean while you work, and protect finished sections from dragged tools or debris. Sloppy handling near the end of the project is one of those preventable mistakes that feels especially cruel because the floor was almost done.
FAQ
What is the most important tip for installing vinyl plank flooring?
The most important tip is to start with a flat, clean subfloor and a planned layout. If the substrate is uneven or the first rows are out of square, the entire installation becomes harder to keep tight and straight.
Should vinyl plank flooring acclimate before installation?
Many products have specific storage and temperature rules before installation, so the right move is to follow the manufacturer instructions for that exact flooring line. Do not assume every vinyl plank product has the same acclimation requirement.
How much expansion gap does vinyl plank flooring need?
The correct gap depends on the product instructions, but the key point is consistency. Leave the specified clearance at walls, trim, pipes, and other fixed objects so the floating floor can move properly.
Do I need to remove baseboards before installing vinyl plank flooring?
Removing baseboards usually makes the install cleaner because it lets you maintain the gap and cover it neatly after the floor is in. It is not always mandatory, but it often produces a better-looking edge than trying to work around existing trim.
Where should I start laying vinyl plank flooring?
Start from a layout plan, not from habit. In many rooms that means beginning along the longest, straightest visual run, but the real goal is protecting the final row width and keeping the field square.
Can I install vinyl plank flooring over an uneven floor?
No floating floor performs well over a meaningfully uneven surface. Minor imperfections may be manageable within product limits, but dips, ridges, and proud fasteners should be corrected before installation.
Final Takeaway
The best vinyl plank flooring installation tips are less about tricks and more about sequence. Prep the subfloor carefully, plan the first and last rows before you start, respect the expansion gap, undercut trim instead of forcing cuts, and keep the early rows perfectly controlled.
That discipline is what makes a DIY floor look deliberate instead of merely finished. Once the base work is right, the planks start feeling much less intimidating.
Sources: Fix This Build That’s beginner mistake guide and So That’s How You Do That’s layout starting guide.

Most Viewed