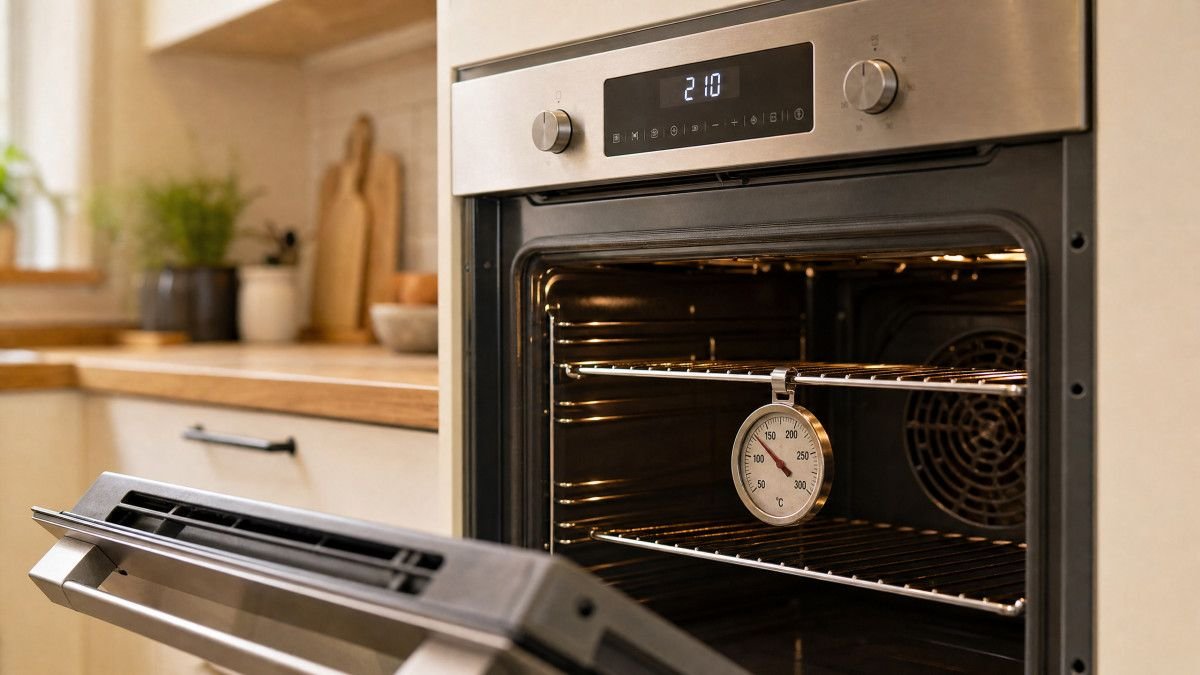

Most home ovens run 25–50°F off their set temperature, meaning that frustrating batch of burnt cookies or undercooked chicken is likely an equipment issue, not a recipe failure. This widespread inaccuracy stems from the simple reality that ovens are designed to cycle heat on and off, rather than holding a constant, perfectly flat temperature. Over time, that cycling baseline naturally drifts, leaving the dial setting completely disconnected from the actual heat inside the cavity.
The good news is that an inaccurate oven rarely requires a full appliance replacement. By diagnosing the exact margin of error, you can usually correct the problem through a straightforward digital calibration or by replacing a single degraded part. The key is understanding the difference between normal thermostat cycling, harmless calibration drift, and an actual component failure. Once you identify which category your oven falls into, the fix is often something you can handle without calling a technician.
How to Confirm Your Oven Is Actually Running Off
An oven thermometer is the only reliable way to measure the real temperature inside your appliance. Do not trust the digital display or the preheat beep, as these only indicate what the control board is trying to achieve, not the physical reality of the oven cavity.
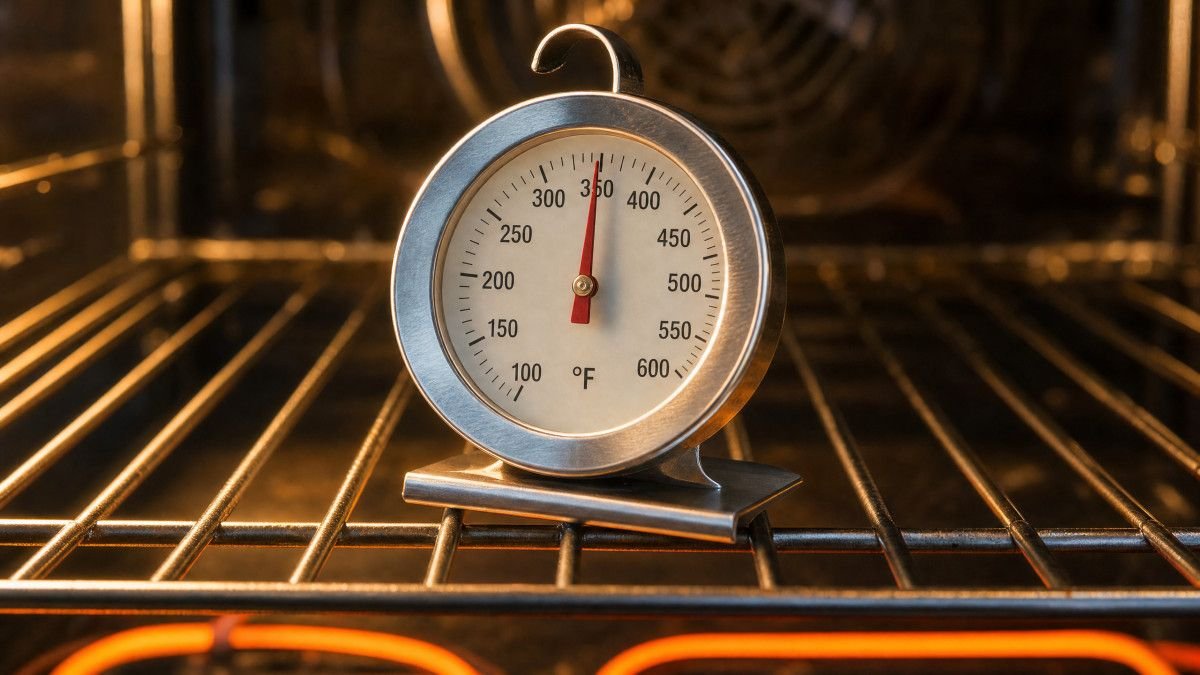
To get an accurate baseline, hang a quality dial or digital oven thermometer from the center of the middle rack. Avoid letting the thermometer touch the back or side walls, as those areas are typically 10–15°F hotter than the center. Set the oven to 350°F and wait for the preheat signal. Once it beeps, do not check the temperature immediately. Instead, wait an additional 15 to 20 minutes to allow the heat to fully stabilize across the entire cavity.
When you take the reading, look through the glass window if possible. If you must open the door, do it quickly — a wide-open door can drop the internal temperature by 10°F in seconds, skewing your results. Because ovens cycle up and down as the heating elements turn on and off, you should take three separate readings spaced five minutes apart and calculate the average.
If you do not own an oven thermometer, the “biscuit test” serves as a practical diagnostic alternative. According to Whirlpool, baking a tube of refrigerated biscuits on a shiny cookie sheet can reveal your oven’s true performance. Follow the packaging instructions exactly. If the biscuits emerge unevenly browned, burnt on the bottom, or raw in the middle despite the correct bake time, your temperature is definitively off.
Once you calculate your average temperature discrepancy, use these thresholds to determine your next step:
| Temperature Discrepancy | Diagnosis | Recommended Action |
|---|---|---|
| Off by less than 15°F | Normal operation | No action needed; adjust recipes slightly if desired. |
| Off by 15°F to 35°F | Calibration drift | Recalibrate the oven via the control panel. |
| Off by 35°F to 50°F | Component degradation | Test and likely replace the temperature sensor. |
| Off by 100°F or more | Major component failure | Do not attempt calibration; call a certified technician. |
The Most Common Reasons Oven Temperature Drifts
Four primary causes account for nearly all oven temperature inaccuracies, ranging from harmless age-related drift to outright part failures.
The most frequent culprit is a failed temperature sensor, which is responsible for about 40% of service calls regarding inaccurate heat. The sensor is a small, pencil-like probe located in the upper back corner of the oven cavity. It measures electrical resistance as the temperature rises and sends that data to the control board. Over years of exposure to extreme heat, the internal resistance degrades. When this happens, the sensor feeds incorrect data to the computer, causing the oven to run wildly hot or dangerously cold.
Worn heating elements are the second most common issue, causing roughly 28% of temperature problems. The bake element at the bottom of an electric oven should glow a bright, solid orange when active. If you notice dark patches, blistering, or cracks along the element, it is no longer generating enough heat to reach the set temperature. In gas ovens, a weak igniter can cause a similar issue, delaying the release of gas and preventing the oven from holding a steady temperature.
General calibration drift accounts for another 18% of cases. All ovens, regardless of brand or price point, will gradually drift 5–15°F off their factory calibration over three to five years. This is not a failure of any specific part, but rather the normal settling of the mechanical and electronic components. Finally, a faulty control board is to blame in about 14% of instances. If the relays on the board stick or fail, the oven may refuse to turn off the heating elements, resulting in a dangerous overheating scenario that calibration cannot fix.
Before tearing into the hardware, ensure your door seal is fully intact. A torn or compressed gasket allows massive amounts of heat to escape, forcing the oven to run constantly just to maintain a subpar temperature.
How to Calibrate Your Oven Yourself
Most digital ovens allow you to apply a ±35°F offset adjustment directly through the control panel, permanently correcting the baseline temperature without requiring any tools or replacement parts.
If your testing revealed a consistent error of 15°F to 35°F, calibration is the correct fix. The exact sequence of buttons varies by manufacturer, but the logic remains the same: you enter a hidden diagnostic mode and tell the computer to add or subtract a specific number of degrees from its factory setting. For example, if your oven is running 25°F too cold, you will input a +25 offset. The oven will then automatically heat to 375°F whenever you set the dial to 350°F.
For GE and Hotpoint models, you typically press and hold the “Bake” and “Broil” buttons simultaneously for three seconds until the display changes. You then use the plus or minus keys to enter your offset and press “Start” to save. On Whirlpool, KitchenAid, and Maytag ovens, the process often involves holding the “Custom Broil” and “Custom Cook” buttons together for three seconds, followed by using the number pad to enter the adjustment. For Samsung and LG models, the calibration feature is usually located within the main Settings menu on the touchscreen, often labeled as “Oven Temp Adjust.”
If you own an older oven with analog knobs, the calibration process is mechanical. Pull the temperature dial straight off the shaft. On the back of the knob, you will find one or two small screws. According to appliance technicians, turning the screw clockwise will generally lower the temperature, while turning it counterclockwise will raise it. Go slowly — a mere one-eighth of a turn usually equals a 10–15°F adjustment. Reattach the knob and retest the oven before making further tweaks.
Keep in mind that calibration is a blunt instrument. It shifts the entire temperature range uniformly. If your oven is 20°F low at 250°F, but 40°F high at 450°F, calibration will not solve your problem. That specific symptom points to a failing heating element, not a calibration drift.
When the Problem Is a Failing Temperature Sensor
A bad temperature sensor causes consistent, large-scale temperature errors that exceed the ±35°F limit of standard calibration adjustments.
If your oven thermometer shows that the appliance is off by 50°F or more, or if the temperature swings wildly during a single baking session, the sensor has likely failed. Because the control board relies entirely on the resistance readings from this probe, a degraded sensor effectively blinds the oven’s computer. In severe cases, the oven may trigger an error code (such as F2 or F3 on many brands) or refuse to heat up at all.
You can test the sensor yourself using a multimeter. After unplugging the oven or turning off the breaker, locate the sensor inside the cavity and remove the two screws holding it in place. Carefully pull the sensor forward to expose the wire harness, disconnect it, and touch your multimeter probes to the terminals. At room temperature, a healthy sensor should read approximately 1,080 to 1,090 ohms of resistance. If the reading is significantly higher or lower, or if the multimeter shows no continuity at all, the sensor is dead.
Replacing the sensor is one of the easiest and most cost-effective appliance repairs you can perform. An OEM replacement part typically costs between $80 and $100, though aftermarket versions can be found for as little as $15. If you hire a professional to diagnose and replace the sensor, expect to pay between $180 and $260 for parts and labor. Given that the repair usually involves nothing more than removing two screws and plugging in a new harness, it is an ideal DIY project for most homeowners.
The Cycling Trap — Why Your Oven Reads Wrong Even When It’s Fine
Ovens deliberately cycle 15–25°F above and below the set point, meaning a snapshot reading from a thermometer will almost always look “wrong” even when the appliance is functioning perfectly.
Unlike a sous-vide water bath that holds a perfectly flat temperature, an oven is essentially an insulated box with a massive heating element that can only be turned completely on or completely off. When you set your oven to 350°F, the element stays on until the air hits roughly 365°F. The element then shuts off, and the temperature slowly drops to about 335°F before the element kicks back on. The food inside the oven absorbs heat based on the average temperature of this cycle, not the extremes.
This is why panicking over a single thermometer reading is a mistake. If you happen to check the thermometer at the very bottom of the cycle, you might assume the oven is running 15°F cold and needlessly calibrate it. Worse, if you open the door to check the dial, you immediately dump a massive volume of hot air into your kitchen. The oven’s computer detects this sudden drop and fires the heating element to compensate, completely ruining the natural cycle you were trying to measure.
To avoid the cycling trap, you must observe the thermometer over a full 20-minute period after the preheat cycle finishes. Record the highest temperature it reaches before dropping, and the lowest temperature it hits before rising again. Add those two numbers together and divide by two. If that average is within 10°F of your set temperature, your oven is highly accurate, and any baking failures are likely due to rack placement, dark baking pans, or altitude rather than the thermostat.
Frequently Asked Questions
Is it normal for an oven to be off by 25 degrees?
Yes, it is entirely normal for an oven to cycle 25 degrees above or below the set point during a baking session. However, if the average temperature is consistently 25 degrees off the target, the oven has experienced calibration drift and should be adjusted via the control panel.
Why is my oven not holding the correct temperature?
If the temperature fluctuates wildly or refuses to stabilize, the most likely culprit is a degraded temperature sensor. Other potential causes include a failing bake element, a weak gas igniter, or a torn door seal that is allowing heat to escape faster than the elements can replace it.
How much does it cost to fix an oven temperature sensor?
If you replace the sensor yourself, the part will cost between $15 and $100 depending on whether you buy an aftermarket or OEM component. If you hire an appliance repair technician, the total cost for parts and labor typically ranges from $180 to $260.
Can I calibrate a gas oven myself?
Yes, if your gas oven features a digital control panel, you can usually calibrate it using the same button sequences as an electric oven. However, if the gas oven is running off by more than 50°F, the issue is likely a weak igniter or a faulty gas valve, which requires professional diagnosis.
What are the symptoms of a bad oven temperature sensor?
A failing sensor will cause the oven to run consistently and severely hot or cold, often missing the target by 50°F or more. You may also notice that the oven takes an unusually long time to preheat, fails to heat up entirely, or displays an F2 or F3 error code on the digital screen.
Conclusion
Dealing with an oven temperature that is not accurate can be incredibly frustrating, but it is rarely a fatal flaw for your appliance. Most issues boil down to normal mechanical drift or a single, easily replaceable component. By taking the time to properly test your oven with a reliable thermometer and understanding the natural cycling process, you can avoid unnecessary repair bills and regain confidence in your kitchen.
Start by finding your oven’s true average temperature. If the discrepancy is minor, a quick trip into the digital settings to calibrate the offset is all it takes. If the error is massive, a $20 sensor replacement might be the only thing standing between you and perfectly baked meals. Stop guessing at the dial, run the test, and take control of your cooking today.

Most Viewed