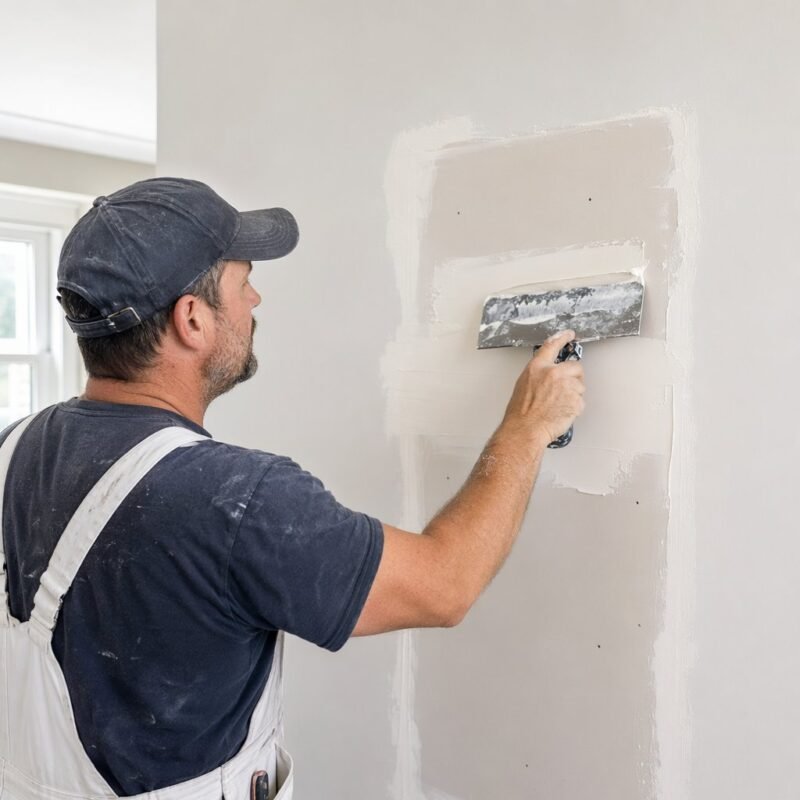

Patching a hole in drywall uses different techniques depending on the size of the damage. A nail hole takes two minutes and a fingertip. A fist-sized hole needs a backer board, drywall patch, and three days for the compound to cure fully. Using the wrong method for the hole size is the most common reason drywall repairs fail, crack, or show through paint, notes SunWorld Group professionals. This guide matches the repair method to the hole, with step-by-step instructions for each.
Choose Your Repair Method by Hole Size
Three distinct repair methods cover every common drywall hole. The method depends almost entirely on diameter, since larger holes require physical support that smaller repairs don’t need.
| Hole Size | Common Cause | Method | Drying Time | Difficulty |
|---|---|---|---|---|
| Under ½ inch | Nail, screw, small anchor | Spackle or joint compound | 2–4 hours | Beginner |
| ½ inch to 4 inches | Doorknob, towel bar, light fixture | Self-adhesive patch kit | 24 hours | Beginner |
| 4 inches to 12 inches | Kicked hole, furniture impact | California patch (drywall back-brace) | 24–48 hours | Intermediate |
| Over 12 inches | Major damage, plumbing access | Stud-to-stud replacement | 48–72 hours | Intermediate |
The drying times above assume standard pre-mixed joint compound at normal room temperature and humidity. Quick-set compound (sold as 20-minute, 45-minute, or 90-minute mud) cuts those times dramatically but requires mixing and sets irreversibly in the stated window, leaving less room for error.
Tools and Materials
Having the right materials before starting saves a second trip to the hardware store mid-repair. The specific items depend on hole size, but a well-stocked repair kit handles everything from nail holes to medium patches.

- Joint compound (pre-mixed “all-purpose” for most repairs; lightweight for finish coats)
- Self-adhesive mesh patch (for holes ½ inch to 4 inches)
- Drywall screws (1¼-inch for backer boards; 1⅝-inch for new drywall)
- Drywall saw or keyhole saw (for cutting clean edges on larger holes)
- Taping knives (4-inch for small patches; 6- or 8-inch for larger areas)
- Mesh tape or paper tape (paper tape for seams; mesh for patches)
- Sanding sponge (120-grit for shaping; 220-grit for finish)
- Primer (required before painting — skipping primer causes the patch to flash through paint)
- Wooden furring strips or scrap 1×3 lumber (for backer boards on larger repairs)
A note on joint compound: the labels “all-purpose,” “lightweight,” and “topping” refer to different formulas for different stages. All-purpose works for every coat but is heavier and slower to dry. Using lightweight compound for the second and third coats reduces sanding time noticeably. Quick-set mud is worth learning for repairs that need to be painted the same day. Drywall’s basic construction — a gypsum core sandwiched between paper facing layers — explains why the paper face is so important to protect during both repair and water application.
Small Holes Under ½ Inch: Spackle Method
Small holes from nails, picture hooks, and small drywall anchors need nothing more than spackle or pre-mixed joint compound applied with a flexible putty knife or even a fingertip.
- Clean the hole. Remove any loose paper or crumbling drywall around the edge. A nail or pencil tip can clear debris from inside the hole.
- Apply compound. Press a small amount of spackle or joint compound into the hole with a putty knife. Slightly overfill so you have material to sand back.
- Feather the edges. Drag the knife across the surface to smooth the compound level with the wall. Any raised edge will show under paint.
- Let dry completely. Pre-mixed spackle turns from pink to white when dry — a useful visual indicator. Typical dry time is 2–4 hours. Do not rush this step.
- Sand smooth. A fine-grit sanding sponge (220-grit) is ideal. Sand in a circular motion, then wipe dust with a damp cloth.
- Prime and paint. Apply a spot of primer over the patch before painting. Without primer, the patch absorbs paint differently than the surrounding wall, creating a visible dull spot even after multiple paint coats.
For holes from larger anchors (plastic or toggle bolts), first push the old anchor into the wall cavity with a screwdriver rather than prying it out, which enlarges the hole. Then fill as above.
Medium Holes ½ to 4 Inches: Self-Adhesive Patch Method
Self-adhesive mesh patch kits, available at any hardware store for $5–$10, handle the range of damage from a doorknob impact to a towel bar pulled from the wall. The aluminum-mesh or fiberglass backing gives the compound something to grip without the complexity of a backer board.
- Clean the hole edges. Trim any torn drywall paper or loose gypsum back to a clean, solid edge with a utility knife. A ragged edge under the patch will create an uneven surface.
- Apply the patch. Center the self-adhesive mesh patch over the hole and press firmly. The patch should overlap solid wall surface by at least ½ inch on all sides.
- First coat of compound. Apply joint compound over the mesh with a 4-inch taping knife, pressing it firmly into the mesh openings. Feather the edges 2–3 inches beyond the patch boundary. This coat does not need to look perfect — its job is to embed the mesh.
- Let dry 24 hours. Mesh patches need a full 24-hour dry time between coats, longer than nail-hole fills. The mesh remains slightly flexible and needs the compound to fully cure before the next coat adds more weight.
- Second coat. Apply a thin second coat with a wider knife (6-inch), extending the feathering 4–6 inches beyond the patch. This coat should be noticeably thinner than the first.
- Light sanding and third coat. Sand the second coat lightly with 120-grit, wipe dust, then apply a final thin finish coat. Feather even further, 8–10 inches from center on a 4-inch patch.
- Final sanding. When the finish coat is fully dry, sand with 220-grit until the patch blends invisibly with the surrounding texture. Run a bright work light at a low angle to spot any ridges or depressions before priming.
- Prime before painting. Two coats of primer over the repair prevents the “hot spot” effect, where new compound absorbs paint faster than the surrounding wall.
The wide feathering is the step most beginners skip, and it’s exactly why their patches show through paint. A 4-inch hole needs the compound spread across 10–12 inches of wall total to be truly invisible. Compound that abruptly stops at the patch edge creates a raised ring that catches light.
Large Holes 4 to 12 Inches: California Patch Method
Holes too large for a mesh patch kit but not wide enough to require finding studs use the California patch method, named for its use of the drywall paper facing as a built-in tape. It produces a stronger repair than mesh and requires no additional backer materials for holes in the 4-to-12-inch range.
- Cut a square patch piece. Cut a piece of drywall slightly larger than the hole, measuring about 2 inches larger on each side. Score and snap the drywall, then carefully peel back the paper facing 1 inch on all four edges, leaving the paper attached but the gypsum core removed from those edges. The result is a drywall piece with a 1-inch paper “flange” around all sides.
- Trace and cut the wall opening. Hold the patch over the hole and trace around the gypsum core (inside the paper flange). Cut the wall opening to this traced square using a drywall saw. The opening should accept the patch core with the paper flanges lying flat against the surrounding wall.
- Test the fit. The patch core should sit flush inside the opening while the paper flanges lie flat on the wall surface. Trim as needed.
- Apply compound to the flanges. Spread a thin layer of joint compound around the opening, then press the patch into place. The paper flanges embed into the compound like built-in tape.
- Coat and feather. Apply joint compound over the entire patch and flanges, feathering 4–6 inches beyond the paper edges. Allow full drying (24 hours minimum), then apply two additional coats with progressively wider feathering and lighter application.
- Sand and prime. Finish as with smaller patches: 120-grit for shaping, 220-grit for finish, then two coats of primer.
Very Large Holes Over 12 Inches: Stud-to-Stud Replacement
Holes wider than 12 inches, or any repair that spans the full height of a wall section, require cutting back to the nearest studs so the new drywall has solid wood support at its edges. Studs are typically spaced 16 inches apart, measurable by tapping the wall and listening for the solid thud rather than hollow sound, or by using a stud finder. Before cutting into any wall, check whether the home was built before 1978, the EPA’s Renovation, Repair and Painting program outlines lead paint precautions that apply when cutting or sanding older painted surfaces.
- Locate the studs. Find the two studs flanking the damage. Mark their center lines on the wall.
- Cut to stud centers. Use a drywall saw to cut from the damaged area to the center of each flanking stud, creating a clean rectangular opening. Cut the top and bottom edges at a height that falls midway between ceiling and floor for a manageable panel size.
- Remove the damaged section. Pull out the cut piece. Check for any pipes or wires before cutting; always cut shallowly to avoid penetrating utilities behind the wall.
- Add horizontal blocking if needed. If the opening height requires a top or bottom edge that falls between studs, nail a horizontal 2×4 between the flanking studs to provide a nailing surface at that edge.
- Cut new drywall to size. Match the thickness of the existing drywall (typically ½ inch for walls, ⅝ inch for ceilings). Cut the replacement piece to fit the opening exactly.
- Screw into place. Drive drywall screws every 8 inches along each stud and horizontal blocking. Screws should be slightly recessed (“dimpled”) without breaking the paper face.
- Tape all seams. Apply mesh tape or paper tape to every seam, then coat with joint compound. The seam where new drywall meets old is the most visible part of the repair and needs three full coats with wide feathering.
- Finish and prime. Sand, prime with two coats, then paint.
Finishing, Priming, and Matching Wall Texture
A technically correct drywall patch becomes visible if the surrounding wall has texture and the repair does not. Most walls in homes built after 1980 have some level of texture, from light orange peel to heavy knockdown. Matching texture is the step that separates a professional result from an obvious repair.
For light orange peel texture, a can of spray texture matched to “orange peel” applies well from 18–24 inches and blends naturally with surrounding walls after priming. For knockdown texture, diluted joint compound applied with a roller and then partially smoothed with a trowel while still wet replicates the pattern. Practice the technique on scrap cardboard before applying to the wall. Once the texture is dry, prime twice and paint.
The final paint coat over a drywall patch always looks slightly different in angle lighting when it’s fresh. This normalizes within a few weeks as the new compound fully cures and the paint settles. If the difference persists beyond four weeks, the patch likely needs another coat of primer before repainting. Choosing the right finish for the final coat matters too: for bathrooms and kitchens, a semi-gloss or satin finish holds up better to moisture and cleaning than flat paint, which can show every repair imperfection. A comparison of semi-gloss vs. satin paint for bathrooms covers the trade-offs in detail if you’re deciding on the final finish.
Frequently Asked Questions
How many coats of joint compound does a drywall patch need?
Most drywall patches need three coats of joint compound: a first coat to embed the tape or fill the patch, a second coat to build out and feather the edges, and a final thin finish coat to smooth the surface before sanding. Each coat must be fully dry before the next is applied, typically 24 hours for pre-mixed compound at room temperature.
Can I patch drywall and paint the same day?
Only if you use quick-set joint compound (such as 20-minute or 45-minute setting-type mud) for all coats, and only for small repairs. Quick-set compound hardens through a chemical reaction rather than drying, which allows multiple coats in a single day. For medium or large patches using standard pre-mixed compound, painting the same day is not possible, the wet compound under a surface skin will cause the paint to crack and peel.
Can I patch a large drywall hole without a backer board?
For holes up to about 6 inches, the California patch method eliminates the need for a separate backer board by using the drywall paper flanges as built-in support. For holes larger than 6 inches, some form of support is necessary, either wooden furring strips inserted behind the opening and screwed through the wall, or cutting back to the studs for stud-to-stud replacement. Patches over 6 inches that lack support will flex and crack over time.
Do I need to prime a drywall patch before painting?
Yes, priming is not optional. Joint compound is highly porous and absorbs paint at a different rate than the surrounding wall. Painting without primer results in a visible dull spot called “flashing” even after multiple paint coats, the patch absorbs the paint sheen and appears flat against the rest of the wall. Two coats of drywall primer fully seals the repair and produces a uniform paint finish.
Should I use mesh tape or paper tape for drywall repairs?
Self-adhesive mesh tape is the better choice for patches and fills because it sticks in place during application and requires no embedding coat. Paper tape produces a slightly stronger finished seam and is preferred by professionals for long straight joints, but requires a coat of compound underneath it to bond correctly, adding a step to the process. For DIY hole repairs, mesh tape is more forgiving and produces excellent results.
What is the difference between patching a crack and patching a hole?
Cracks in drywall are typically surface-level splits in the compound or tape layer and need tape reinforcement before filling. A crack that recurs after repair usually indicates foundation movement or structural settling, which is a different problem than the drywall surface itself. Holes, by contrast, are complete penetrations through the drywall and need the physical patching methods described above. Hairline cracks are filled with joint compound and paper tape; recurring cracks should be evaluated for their underlying cause before cosmetic repair.
How long does it take to fully repair a drywall hole?
A small hole under ½ inch takes less than an hour to repair and can be painted the same day. A medium patch using mesh and standard compound requires 2–3 days from start to paint, allowing 24 hours between each of three compound coats. A large stud-to-stud replacement needs 3–4 days minimum for compound, sanding, and priming before the final paint coat. Rushing the drying stages is the most common reason repairs crack or remain visible after painting.

Most Viewed