An oven that produces a tray of cookies with half golden and half raw is not broken. It is unbalanced. The problem is almost always one of three components: the bake element at the bottom is developing hot and cold spots, the temperature sensor on the back wall is misreporting the internal temperature, or the oven’s thermostat calibration has drifted far enough from reality that the displayed temperature and the actual temperature are two different numbers. Diagnosing why your oven is not heating evenly means testing each of these three components in order of probability.
According to appliance repair data, the bake element accounts for roughly 45% of uneven heating complaints, the temperature sensor for 30%, and calibration drift for 15%. The remaining 10% are split between convection fan failures, control board malfunctions, and door seal leaks. Working through the list systematically solves the problem in about an hour and typically costs between zero and fifty dollars in parts.
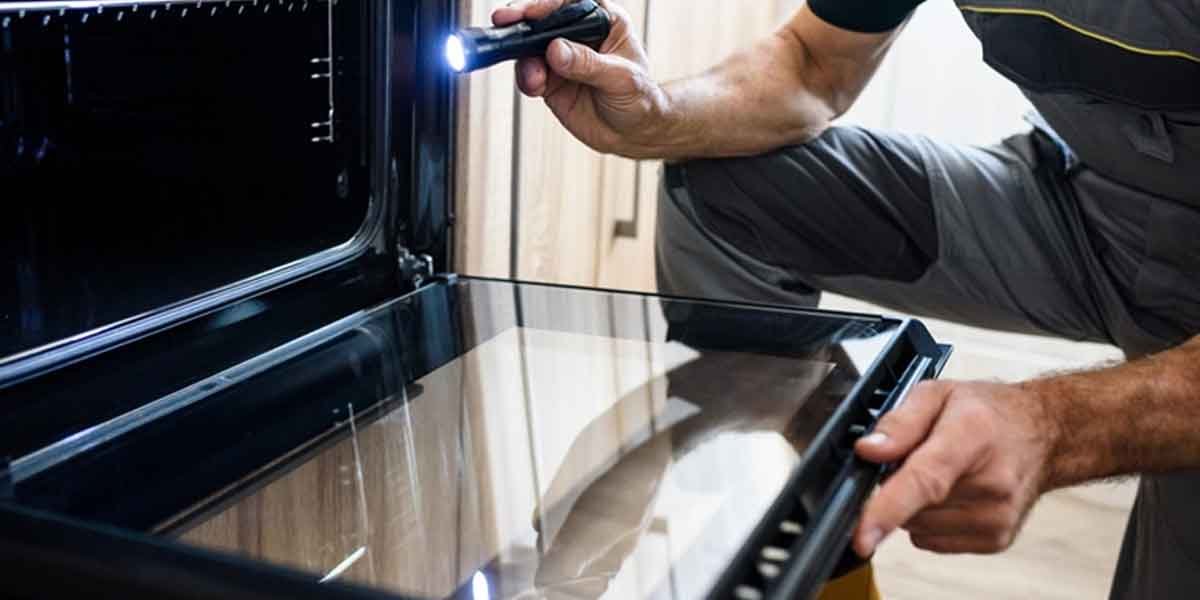
Inspect the Bake Element First
The bake element is the metal tube at the bottom of the oven cavity. When functioning correctly, it glows a uniform orange-red across its entire length. When it begins to fail, it develops darker sections that produce less heat or brighter blister-like spots that produce more. The result is the classic uneven cooking pattern: food burns on one side and remains undercooked on the other.
Set the oven to 350 degrees and watch the element through the oven window as it heats. It should achieve a consistent glow within 90 seconds. Dark spots, sections that do not glow, visible blistering or bubbling on the metal surface, or an element that glows intermittently all indicate failure. A multimeter test provides confirmation: disconnect power at the breaker, remove the two screws securing the element to the back wall of the oven, gently pull the element forward to expose the wire terminals, disconnect the wires, and measure resistance across the element terminals. A functioning bake element typically reads between 15 and 40 ohms depending on its wattage. An open circuit — infinite resistance — means the element is burned out and must be replaced.
Replacement is straightforward. A new bake element costs $20 to $50 and takes about 20 minutes. Connect the wires to the new element, push the wires back into the cavity, screw the element into place, restore power, and test with an oven thermometer on the center rack. The thermometer should read within 10 degrees of the set temperature after 15 minutes of preheating.
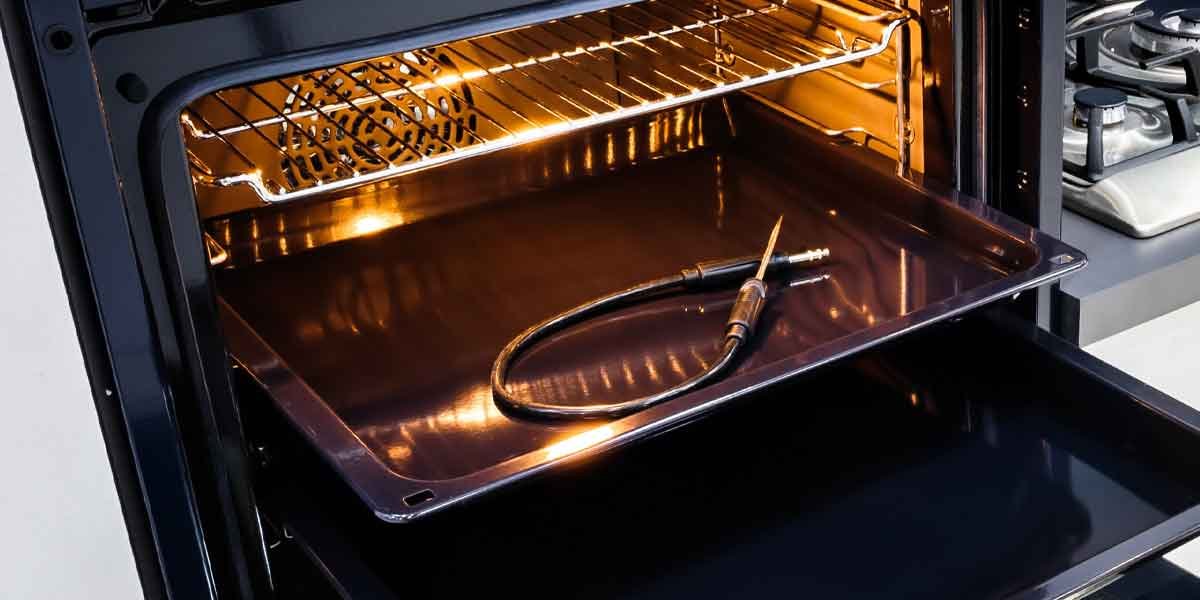
Test the Temperature Sensor
The temperature sensor is the small metal cylinder protruding from the back wall of the oven interior, usually in the upper left or right corner. It measures the internal temperature and sends a resistance value to the control board, which cycles the heating elements on and off.
A sensor that has drifted out of specification reports an incorrect temperature. The control board acts on that incorrect reading. The display shows the set temperature but the actual temperature is different, producing inconsistent cooking results that are difficult to diagnose because the oven appears to be functioning normally.
Testing requires a multimeter. Disconnect power, remove the back panel of the oven, locate the sensor wiring harness, and unplug it. Measure resistance across the sensor’s two terminals. At room temperature of approximately 70 degrees Fahrenheit, a functioning sensor should read between 1,050 and 1,100 ohms. A reading outside this range, a reading that fluctuates erratically, or an open circuit indicates a failed sensor. Replacement sensors cost $15 to $40 and are held in place by a single screw accessible from inside the oven cavity. Disconnect the old sensor from inside the oven, remove the screw, pull the sensor out, thread the new sensor’s wire through the opening, secure it with the screw, and reconnect the wiring harness.
Calibrate the Oven Thermostat
If the element and sensor test within specification but the oven consistently runs 20 to 30 degrees hotter or cooler than the set temperature, the thermostat needs calibration. This is not a component failure. It is a drift that accumulates over years of thermal cycling. Most digital ovens built after 2000 include a user-accessible calibration offset.
Place an oven thermometer on the center rack. Set the oven to 350 degrees. Allow it to preheat fully and cycle the element off and back on at least twice — this takes about 20 to 30 minutes. Read the thermometer through the oven window without opening the door, which releases heat and distorts the reading. If the thermometer consistently reads 25 degrees above or below 350, access the calibration setting. On most digital ovens, press and hold the Bake button for 5 to 10 seconds until the display shows a number like 00 or a calibration offset. Use the arrow keys to adjust up or down by the number of degrees the actual temperature deviates from the set temperature. On older ovens with dial thermostats, remove the temperature knob. A small adjustment screw on the back of the knob or on the thermostat shaft itself can be turned slightly to recalibrate. Test after each adjustment.
| Component | Symptom | Test Method | Part Cost | DIY Time |
|---|---|---|---|---|
| Bake Element | Uneven glow, dark spots, blistering | Visual inspection, multimeter (15-40 ohms) | $20-$50 | 20 min |
| Temperature Sensor | Display correct but oven wrong temp | Multimeter (1,050-1,100 ohms at 70F) | $15-$40 | 15 min |
| Thermostat Calibration | Consistently 20+ degrees off | Oven thermometer comparison | $0 | 10 min |
| Convection Fan | Silent when convection engaged | Listen for fan during convection mode | $40-$100 | 30 min |
| Door Gasket | Heat escaping around door | Feel for warm air during preheating | $20-$40 | 10 min |
Check the Convection Fan and Door Seal
A convection oven relies on a fan at the back of the cavity to circulate hot air. If the fan motor fails, the oven reverts to standard radiant heating, which produces temperature stratification: the top runs hotter than the bottom, and food near the walls cooks faster than food in the center.
Listen for the fan when the convection setting is engaged. If it is silent, the fan motor, the fan blade, or the control board relay may have failed. Fan motors cost $40 to $100.
The oven door gasket seals heat inside the cavity. A torn, compressed, or hardened gasket leaks heat, usually at the top or corners where the door meets the frame.
The oven compensates by running the element longer, producing uneven heating as the escaping heat creates a cool zone near the door. Inspect the gasket by running your hand around the door during preheating , do not touch the hot surfaces, just feel for escaping warm air. A replacement gasket costs $20 to $40 and presses into a channel around the door opening.
Frequently Asked Questions
Why does the bottom of my food burn while the top stays raw?
The bake element is overheating in one section, typically near the center, while the outer sections produce less heat. The element needs replacement. A failing element produces this exact pattern because it develops hot spots before it fails completely. The broil element at the top of the oven is usually not involved in baking and is not the cause.
How much does oven repair cost for uneven heating?
DIY replacement of a bake element or temperature sensor costs $20 to $50 in parts. Professional diagnosis and repair costs $150 to $300 including the service call.
If the control board has failed, replacement costs $200 to $400 for the part alone, making it uneconomical for ovens more than 10 to 12 years old. Replacement of the entire oven costs $600 to $1,500 for a mid-range model plus installation.
Is it safe to use an oven that heats unevenly?
It is safe for food but inefficient and frustrating. Rotate pans halfway through cooking and use an oven thermometer to monitor actual temperature. A failing bake element can eventually burn out completely and may arc internally before failing. If you see sparking inside the oven cavity, disconnect power immediately and do not use the oven until the element is replaced.
Most Viewed